
How to Check a Driveshaft Flange Before Installation
If you’ve been turning wrenches long enough, you know the drill: a customer buys a brand-new driveshaft, bolts it in, and then comes back complaining about a vibration that won’t go away. Nine times out of ten, the problem isn’t the driveshaft. It’s the flange they reused without checking.
So before you torque anything down, spend five minutes inspecting that flange. Here’s what actually matters.
Check the Bolt Holes First — They Lie
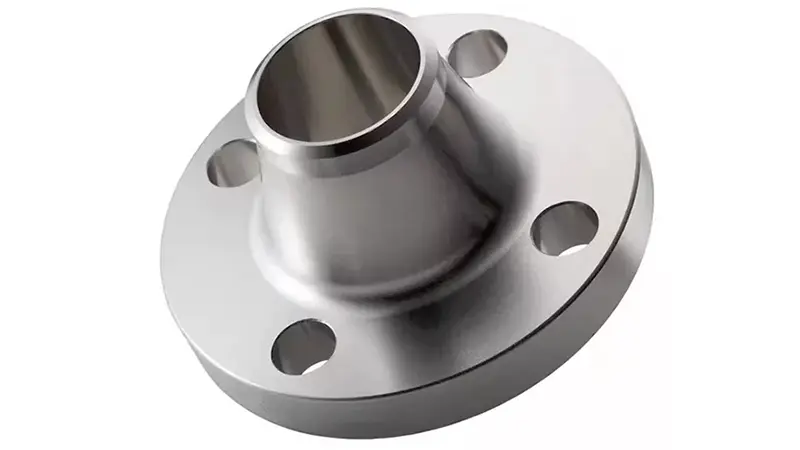
Pick up the flange and look at the bolt holes. Not just for cracks — that’s the obvious stuff. What you’re really looking for is elongation.
A good bolt hole is round, and the bolt fits tight — no slop. But run a flange loose a few times, hit it with high torque over and over, and those holes turn into ovals. Tighten it all you want; it still shifts under load. You won’t feel it. The driveshaft will. That’s your vibration.
Quick test: slide a new bolt into each hole and wiggle it. Any noticeable play means the flange is done. While you’re at it, inspect the bolts themselves. Corroded or damaged threads? Replace them too.
The Pilot Bore and Mounting Face Matter More Than You Think
A lot of installers figure that as long as the bolts go through and tighten down, the center bore doesn’t matter. That’s backwards. The pilot bore is what keeps the flange centered — not the bolts.
If that centering surface is worn, rusted, or gouged, the flange sits off-center. Even a tiny offset becomes a vibration source at highway speed.
Run your fingers across the mounting face. Feel for steps, burrs, or uneven wear. A good surface has a consistent, even contact pattern. Dark patches or rust spots mean it wasn’t seating properly to begin with.
Runout: Check It Before, Not After
This is the step everyone skips. They figure they’ll deal with vibration after everything’s installed. But once the driveshaft is in, discovering runout means tearing it all apart again.
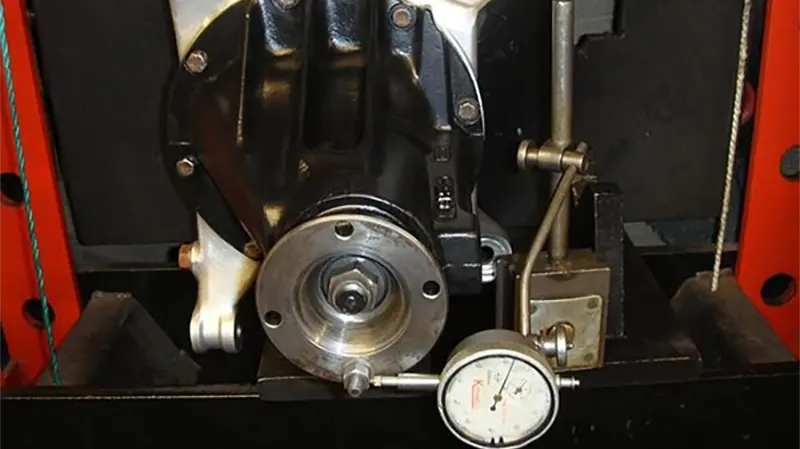
Runout is how far the flange’s outer edge deviates from the true center of rotation. There’s a spec for it, and it’s tight. If the flange itself has excessive runout, the driveshaft is essentially spinning off-axis. No amount of balancing will fix that.
If you have a dial indicator, sweep the flange’s outer edge and check it against spec. No indicator? Lay the flange flat on a machined surface — a lathe bed works — press down on the center, and watch the edge for visible wobble. If you can see it move, it’s out of tolerance.
Match Marks: Don't Get Lazy
Factory driveshafts and flanges are balanced as a pair, and there’s usually a match mark showing how they align. You have to line them up during installation. Skip this, and you’ve deliberately thrown off a balanced assembly.
New driveshaft, old flange? No factory marks? Then find the flange’s high runout point and clock the driveshaft’s corresponding mark to it. It sounds tedious, but it’s the cheapest way to minimize vibration. Do it once, do it right.
One Last Look at the Flange Itself
Whether it’s cast or forged, check for cracks, warping, or obvious deformation. That’s basic. But here’s the one people miss: flatness.
Lay a straightedge across the mounting face and check for light gaps. If you can see light under the middle or slide a feeler gauge under the edge, that face isn’t flat anymore. Minor warping can sometimes be machined flat. Severe warping means scrap it. Bolt a warped flange down and you’ll get uneven torque distribution — and a loose flange down the road.
The Bottom Line
Driveshaft flange inspection isn’t complicated. It’s just attention to detail. Bolt holes, pilot bore, runout — those three checks take ten minutes. Skip them, and you’re looking at comebacks, warranty claims, and a customer who tells everyone your parts don’t fit.
Check it before you install it. Ten minutes now saves a whole lot of headache later.