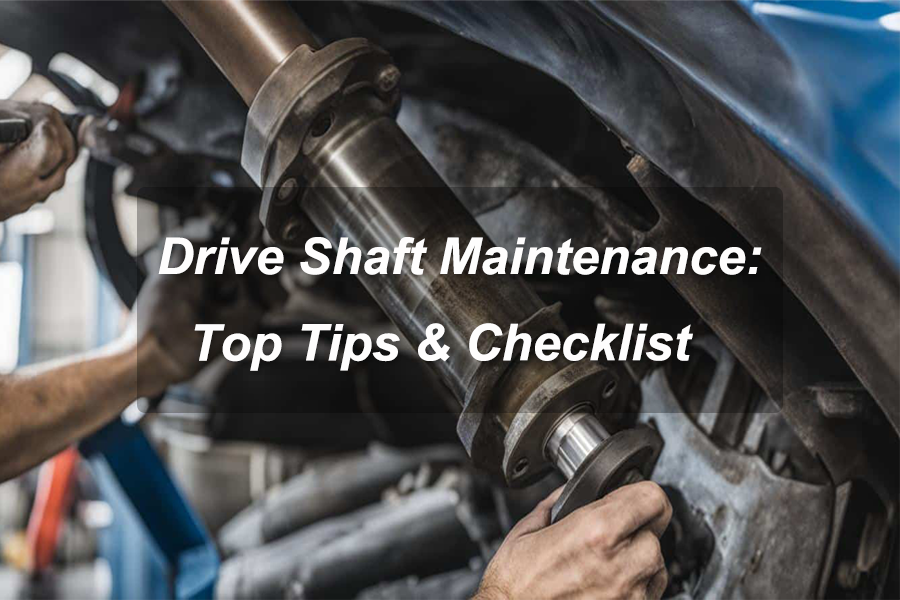
Drive Shaft Maintenance: Top Tips & Checklist
The drive shaft assembly is one of those components you don’t really think about day to day. Most drivers only notice it when something feels wrong—like a vibration, a clunk, or just that “not quite right” feeling. The good part is, a lot of these problems can actually be avoided with some basic care.
Put simply, the drive shaft’s job is to pass power from the transmission (or transfer case) back to the differential and wheels. As long as it’s properly aligned, firmly mounted, and well lubricated, it tends to work quietly in the background without causing trouble. When something wears, it usually announces itself with vibration.
Why maintenance matters
If a U-joint dries out or gets loose, it doesn’t just stay a little loose. It can wear the yokes, stress seals, and even damage the transmission output. That’s why a small check now can save a bigger bill later.
One thing I’ve learned the hard way: if a new vibration shows up and you keep driving for weeks, the problem rarely stays the same. It almost always gets worse.
Quick inspection: what to look for
Start during a normal drive. Turn the radio down for a minute. Do you hear a click when you shift from park to drive? A clunk when you get on and off the throttle? A steady hum that changes with speed? Those are all useful clues.
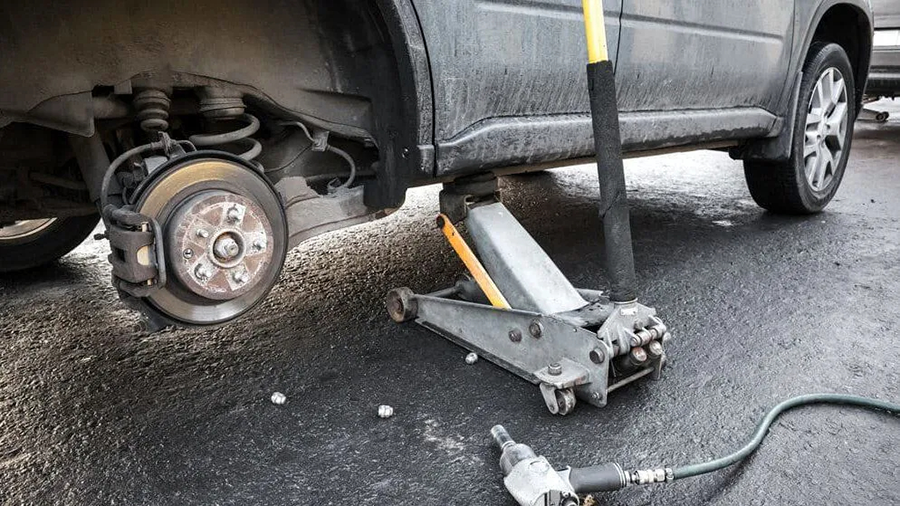
Then do a visual check underneath. Only do this when the vehicle is safely parked (and properly supported on jack stands if you lift it). You’re looking for obvious damage, rust scale, or anything wet with fresh fluid.
- Vibration under acceleration: often points to a joint, balance issue, or driveline angle.
- Rust or dents: a dented tube can throw balance off.
- U-joints: look for red dust, missing snap rings, or grease that’s dried up.
- Seals/boots (if equipped): cracks, tears, or grease flung around nearby parts.
Shop-style tip:If the vibration changes a lot when you let off the gas, don’t ignore that. That on-throttle vs off-throttle change is common with worn joints or bad angles.
Maintenance checklist (simple and realistic)
If your U-joints or slip yoke have grease fittings (zerks), lubricate them on a schedule. A lot of people tie it to oil changes because it’s easy to remember. If you tow, drive gravel roads, or go off-road, do it more often.
- Grease the U-joints and slip yokes if they’re serviceable. Just stick with the grease the manufacturer recommends—nothing special needed.
- Don’t leave excess grease hanging around. It’ll just end up pulling in dirt over time.
- Have a quick look at the straps and bolts. If you notice any shiny spots or areas that look like they’ve been moving around, something’s probably not seated properly.
- Take a look around the transmission or transfer case output area. Any light oil film or dampness there is worth paying attention to.
- After suspension repairs or installing new tires, keep an eye out for any new driveline vibration.
When it's worth calling a pro
Some driveline jobs are a pain in a driveway. If you don’t have a press, a good vise, or the right measuring tools, it’s easy to waste a Saturday and still end up with the same vibration.
Call a shop if the shaft looks bent, the joints won’t move smoothly, or you keep feeling a shake that comes back no matter what you tighten. A drivetrain specialist can check runout, angles, and balance in one visit and tell you what’s actually wrong.
Conclusion
Drive shaft assembly maintenance isn’t complicated. Listen for changes. Look underneath once in a while. Grease what can be greased. Fix small issues early. That’s what keeps the drivetrain smooth—and keeps you from chasing a bigger problem later.