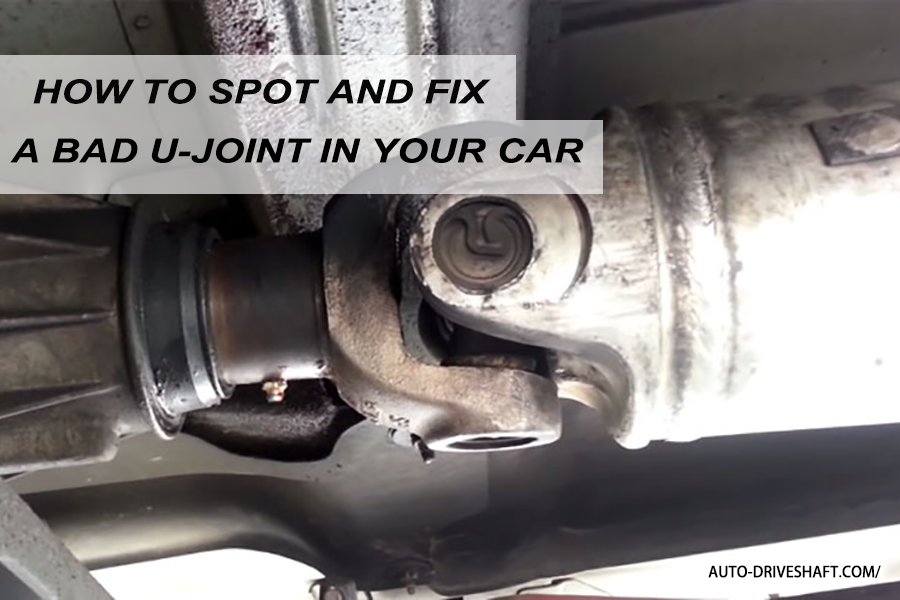
How to Spot and Fix a Bad U-Joint in Your Car
Notice a clunk when shifting into Drive? Hear a squeak under your seat? These are signs your u-joint might be failing. Catching it early saves you big repair bills.
What a U-Joint Does
Think of your wrist. Rotate it while bent. Your hand still spins, right? That’s how a u-joint works. It sits inside the driveshaft yoke and transfers engine power to the wheels. Even on bumpy roads, it keeps power flowing smoothly.
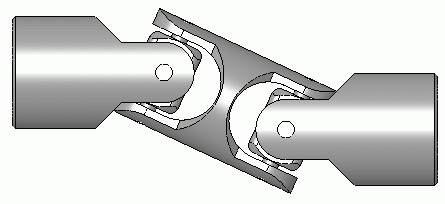
U-joints come in two types:
- Sealed (Non-greasable): No maintenance, but replace when factory grease dries out.
- Greasable: Add fresh grease to extend its life.
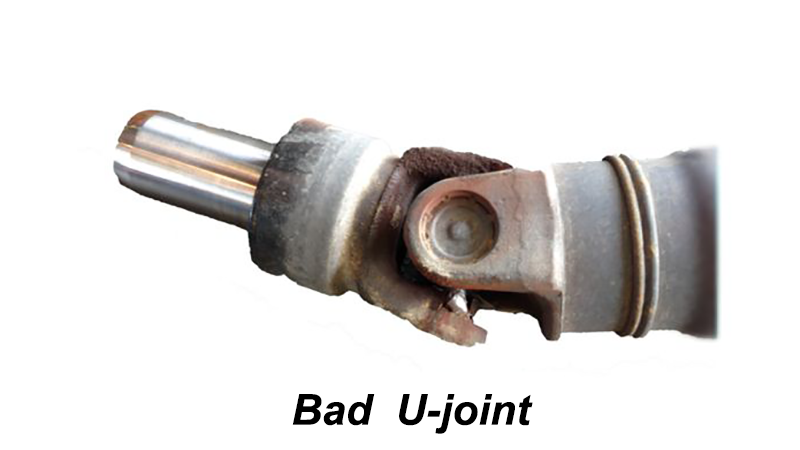
When the rollers inside dry out, your car will give warnings before a serious breakdown.
3 Warning Signs of a Bad U-Joint
Listen carefully:
Squeak when accelerating: Rhythmic, cricket-like chirps mean dry metal.
Clunking when shifting: Sloppy joint hitting hard.
Driveshaft vibration at speed: Center lost, rod wobbles violently.
Where you feel it matters. Shaking steering wheel? Likely front tires. Vibration in your seat? Driveshaft problem.
Driveway Check for U-Joint Play
- Set parking brake. Use wheel chocks.
- Lift car on jack stands.
- Find the driveshaft u-joint.
Look for rusty dust on the bearing caps. Twist the driveshaft. Feel for slack. Any click or wiggle? Time for replacement.
Tip: CV joints hide in rubber boots. U-joints are exposed. Front-wheel vs. rear-wheel matters too.
Risks of Driving with a Broken U-Joint
Wondering what happens when a U-joint breaks while driving? Picture a heavy metal pole dropping onto the highway beneath you. This causes driveshaft separation, where the spinning rod transferring power violently snaps free from your vehicle.
That loose rod then acts like a whip under your floorboards, shattering exhaust pipes and tearing your transmission. Suddenly, a small replacement cost multiplies into thousands of dollars in secondary damage.
Beyond massive repair bills, flying metal creates a deadly hazard for vehicles traveling behind you.To prevent disaster, you can use the simple method to replace that failing part yourself.
Method to Replace a U-Joint
Tackling this repair yourself is a great way to keep your total replacement cost under fifty dollars. Before getting under the car, make sure you have some everyday tools ready.
Here is your step-by-step tool checklist:
A heavy hammer and two metal sockets (one smaller than the hole, one larger)
Needle-nose pliers or a flathead screwdriver
Optional: A U-joint press tool kit
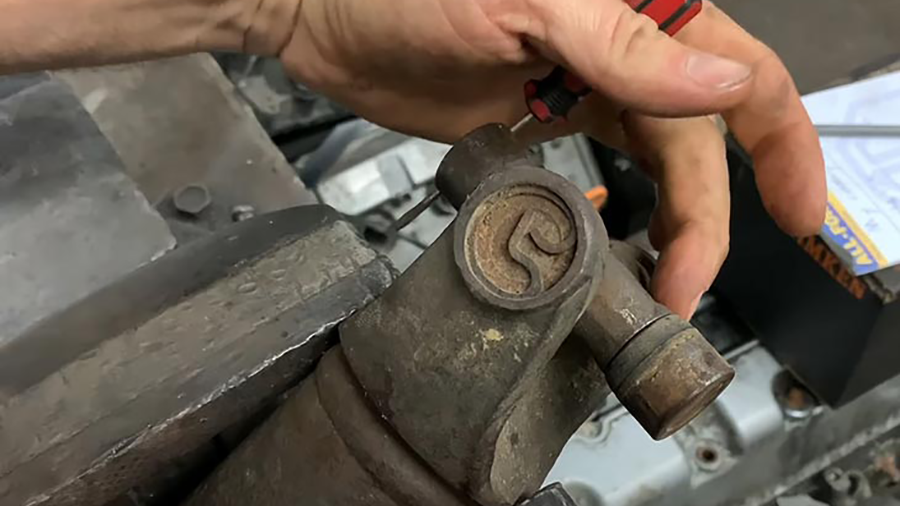
First, you must unlock the whole assembly by removing snap rings from the driveshaft. Think of these C-shaped metal clips as tiny retaining walls; simply pinch or pry them out of their circular grooves to free up the joint.
Next comes the pressing action to remove the bearing caps, which are the steel cups resting at each end of the cross. Using the heavy-duty C-clamp press—or striking the smaller socket with your hammer as a low-cost alternative—you will physically push the old cap straight out into the larger receiving socket.
During reassembly, press the new caps in gently so the tiny internal metal rollers—called needle bearings—do not fall over and ruin the joint. Mastering this careful placement ensures a smooth and safe post-repair drive.
After Repair
Before lowering the car, check the snap rings. Make sure they are fully seated. The joint should not wiggle.
Take the car for a test drive. Start slowly around your neighborhood. Then, gradually reach highway speed. You should feel a smooth, quiet ride.
If your U-joint is greasable, pump in grease. Stop when a little comes out. Check it every oil change.
Fixing a bad U-joint properly saves money. It also keeps your vehicle safe on the road.